
Description
Precision Timing for Your Sinclair ZX Spectrum
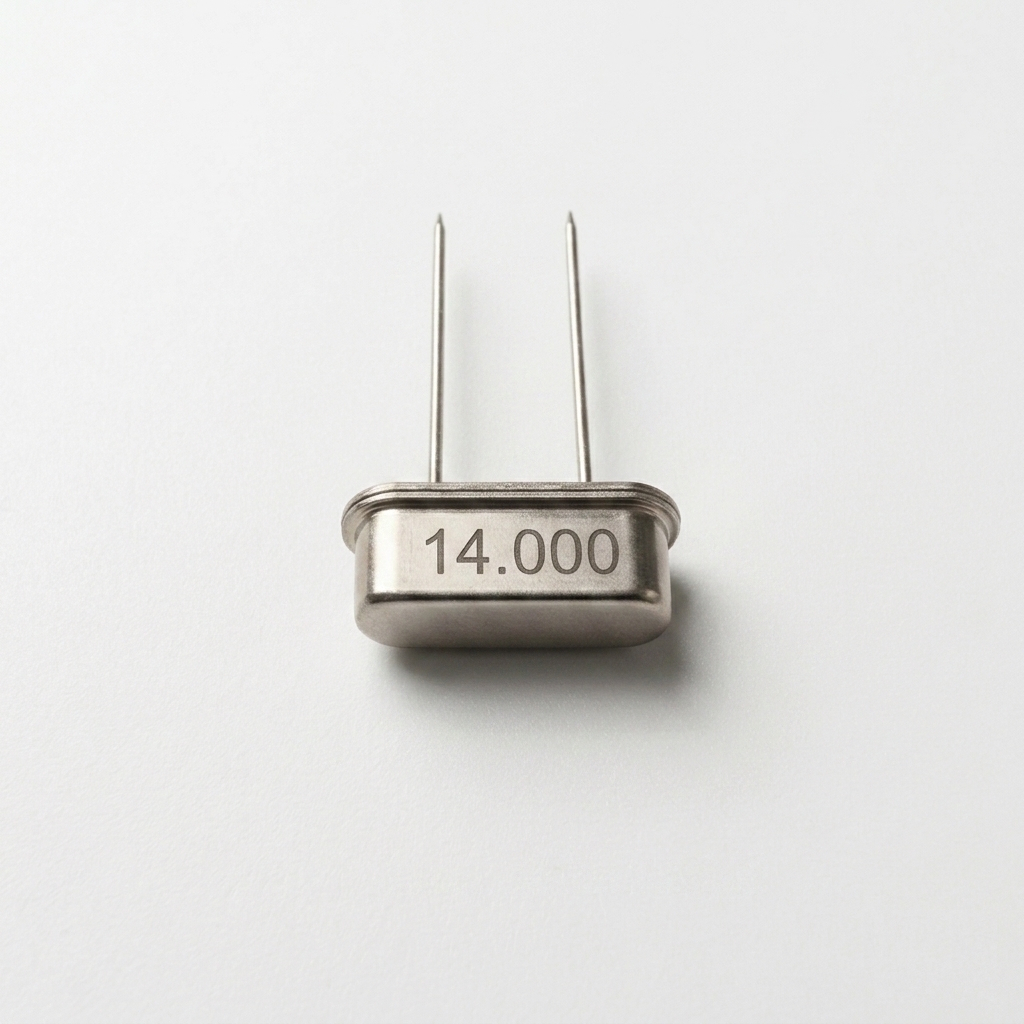
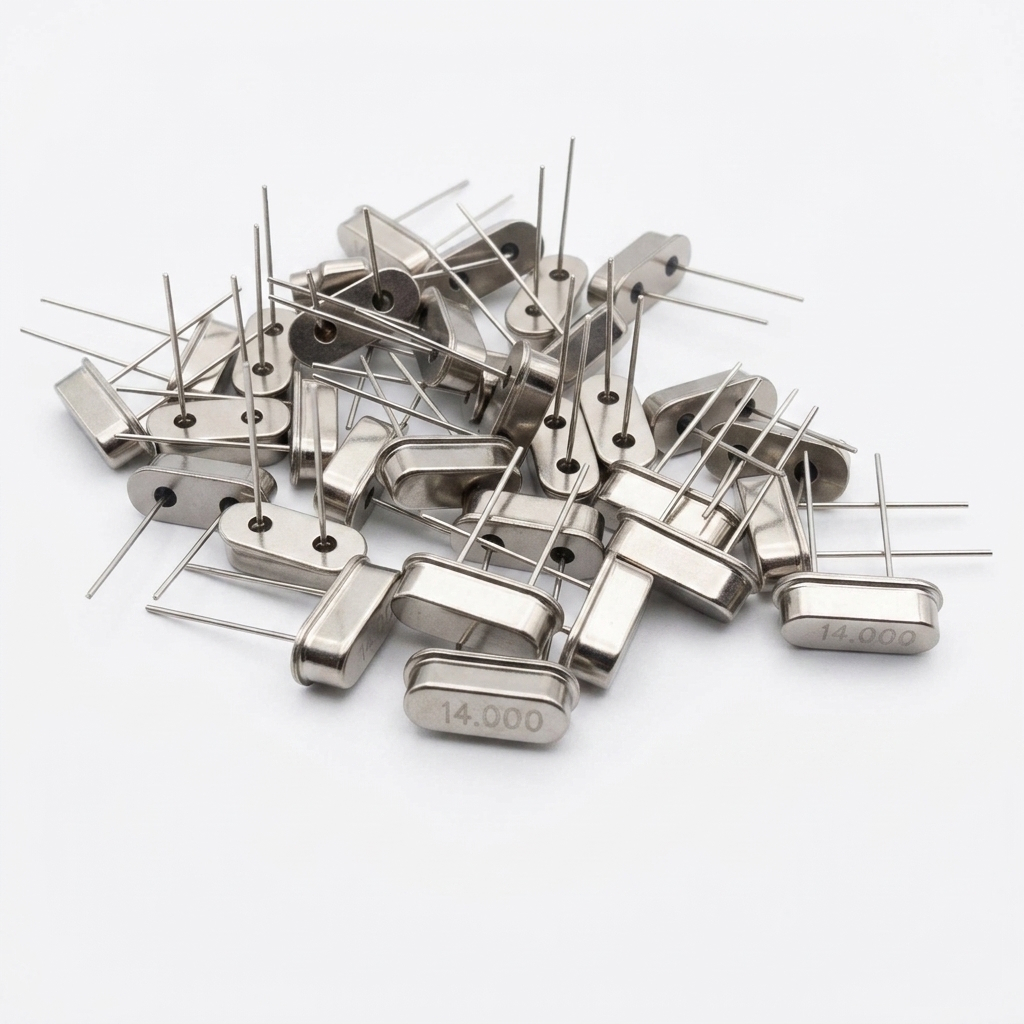
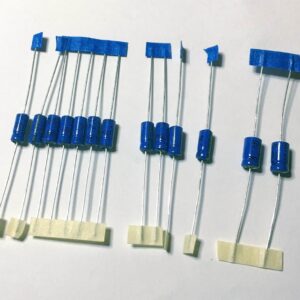
The crystal oscillator is arguably the most critical timing component on your motherboard; it provides the master clock frequency that keeps the Z80 processor and the ULA in perfect sync. Over the last four decades, original crystals can fail, suffer from frequency drift, or simply succumb to corrosion. Our 14MHz Low-Profile Crystal is the industry-standard replacement part required to return your machine to its factory-spec performance.
Why Replace the Crystal Oscillator?
You might assume a crystal is either “working or broken,” but failing crystals often cause subtle, hard-to-diagnose issues.
- Boot Failures: If your Spectrum refuses to boot or displays a “black screen,” the clock signal is often the culprit.
- Frequency Drift: An inaccurate clock can lead to unstable software loading, weird screen artifacts, or erratic CPU behaviour.
- Physical Degradation: The original legs can become brittle, leading to poor connections on the motherboard.
Key Features of This Replacement Part
We have sourced these crystals specifically for the Sinclair range to ensure they meet the rigorous demands of 8-bit computing.
- Low-Profile Design: Unlike some bulky modern equivalents, this crystal is low-profile, ensuring it fits easily under the keyboard membrane and within the original casing without obstruction.
- High Stability: Built to maintain the precise 14.000 MHz frequency required for the Z80A CPU.
- Universal Compatibility: Suitable for all standard 16K and 48K rubber key Spectrum models.
Technical Specifications
- Frequency: 14.000 MHz
- Package: Low-profile metal can
- Mounting: Through-hole (Standard PCB installation)
Installation Advice
Replacing a crystal is a relatively straightforward procedure for those with basic soldering skills.
- Desolder: Carefully remove the old crystal from the motherboard, taking care not to lift the delicate copper pads.
- Clean: Use a small amount of flux and fresh solder to prep the board.
- Install: Insert the new crystal, ensuring it sits flush against the board (thanks to its low-profile design) to ensure structural stability.
- Trim: Carefully trim any excess wire on the underside of the PCB.
Note: As with all internal modifications, ensure the computer is powered off and unplugged from the power supply before beginning your repair. If you are not confident in your soldering ability, we recommend using our professional repair service to ensure your board remains in perfect condition.


Reviews
There are no reviews yet.