


Description
Atari & SJS Joystick tester. No Computer needed.
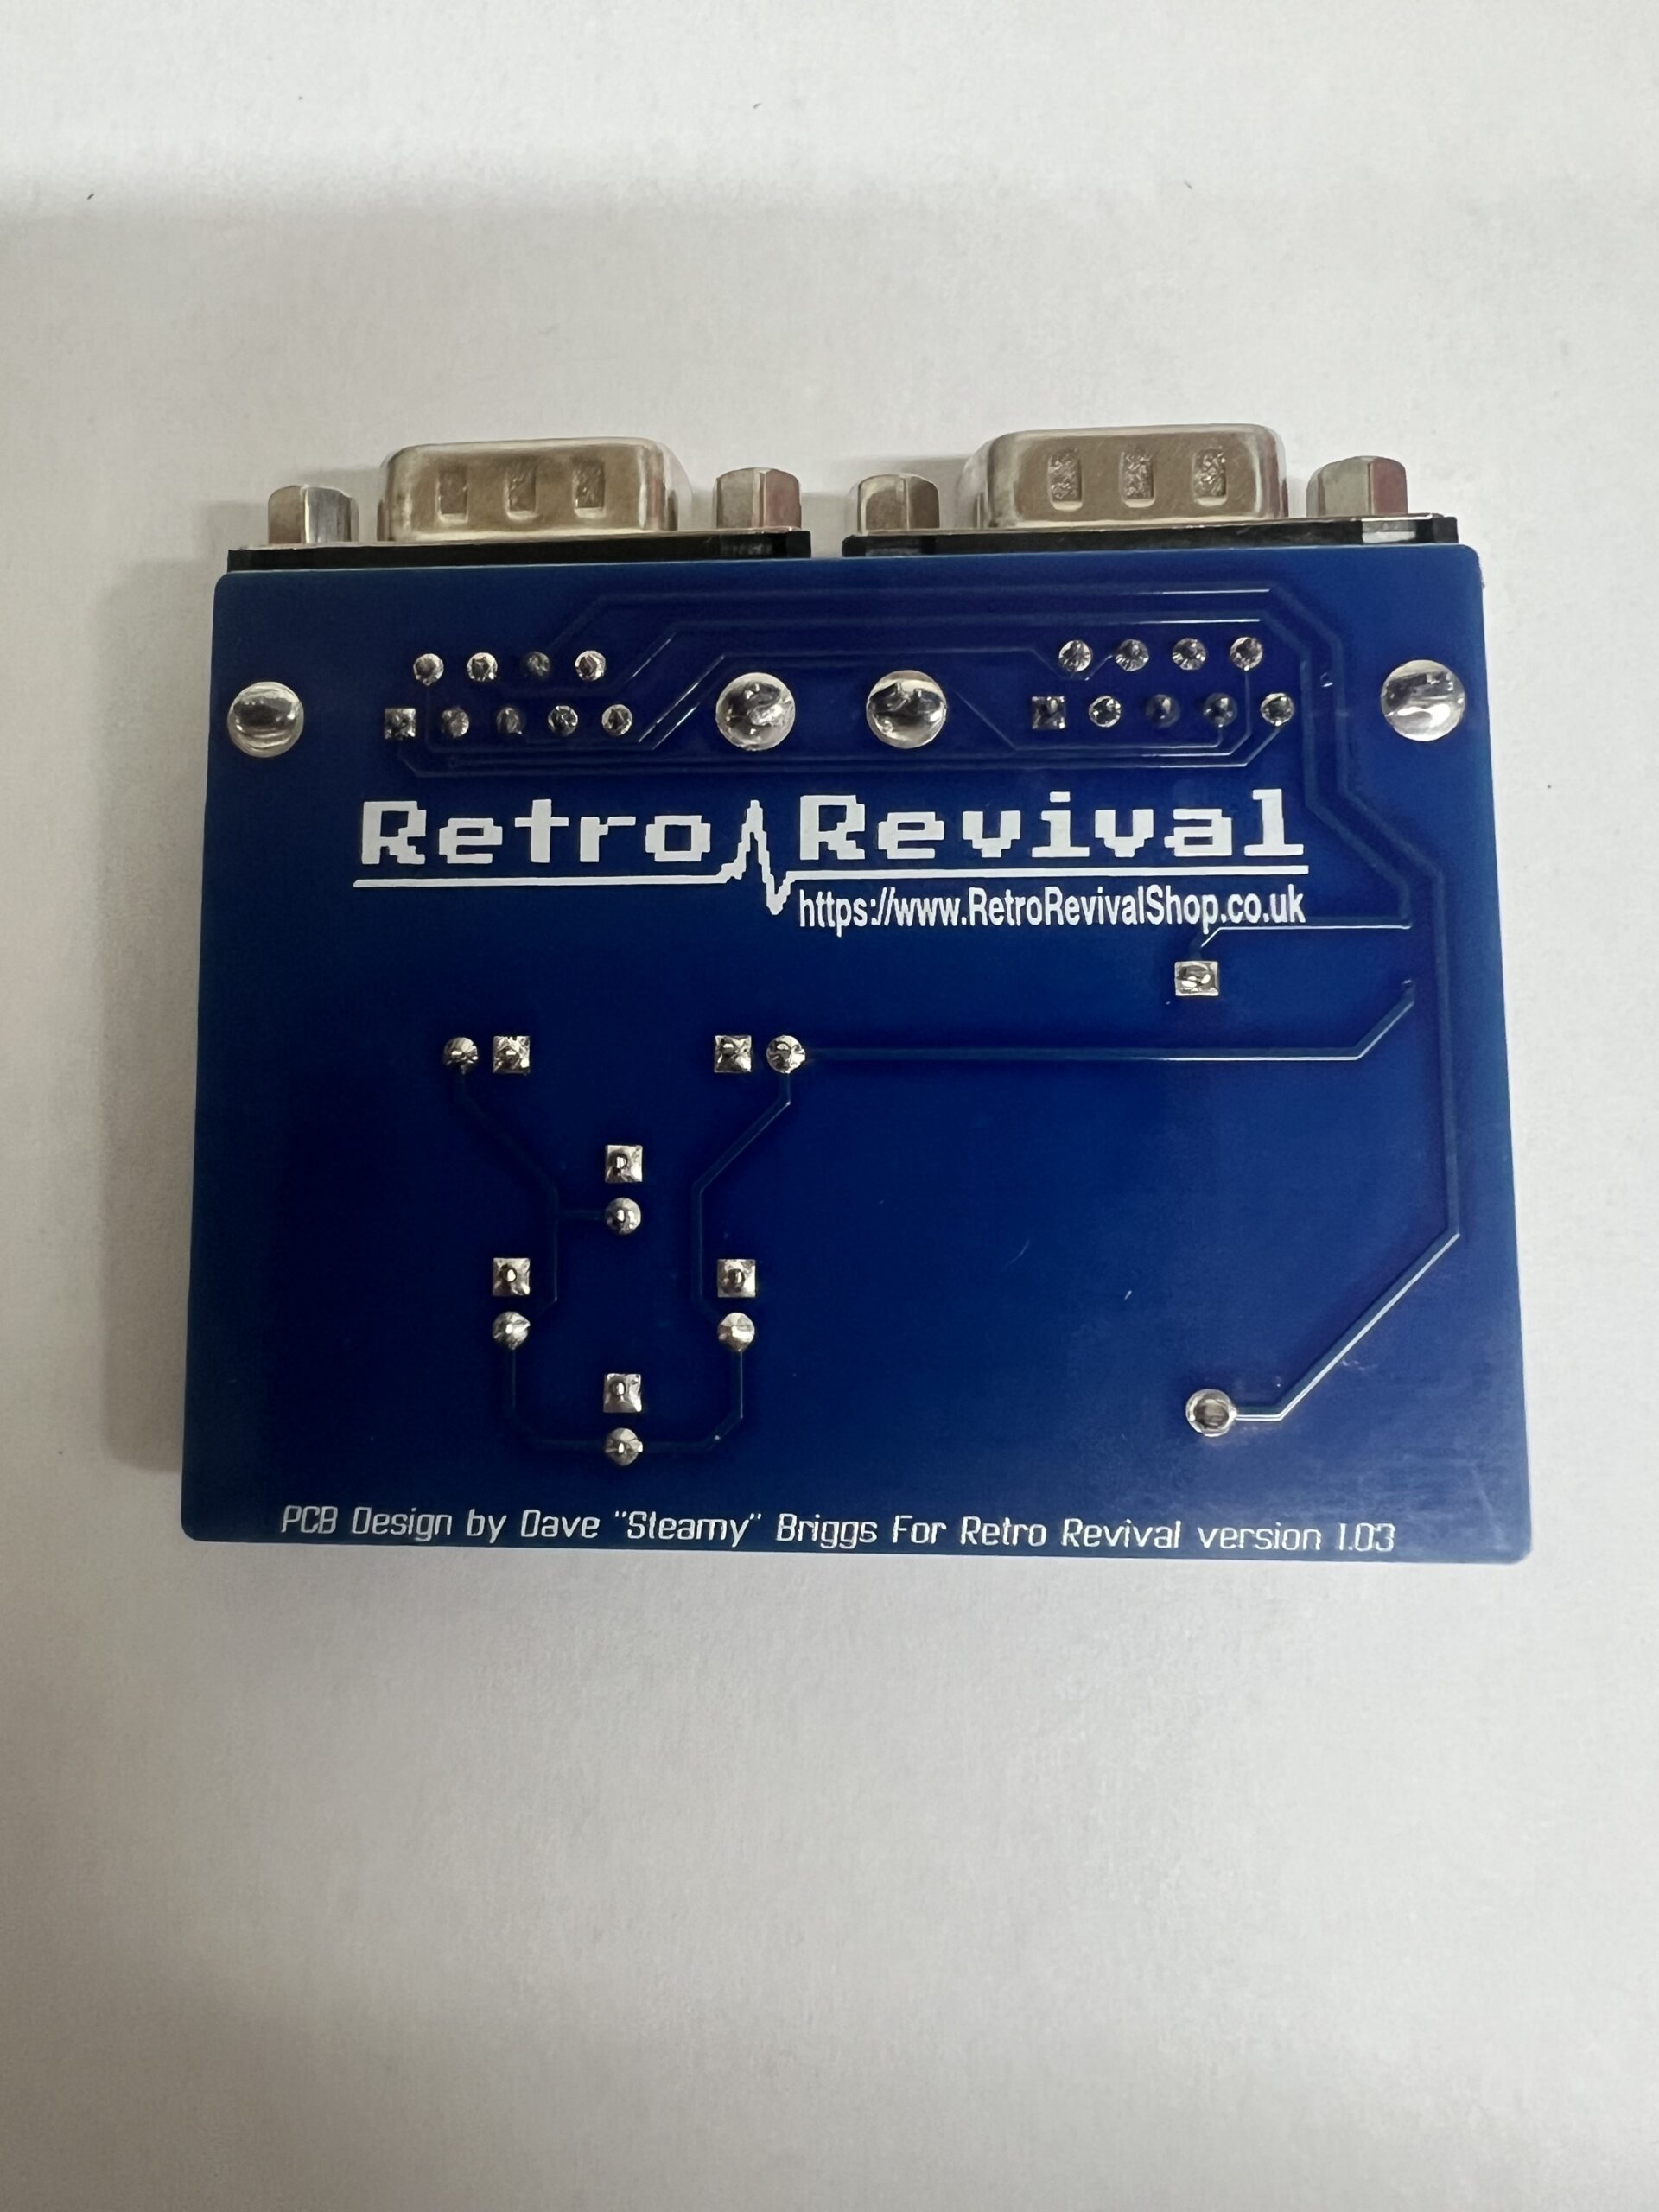
The Retro Revival 2 Button Joystick Tester
For All Atari Standard and Sinclair SJS Joysticks, by Steamy.
A quick and easy, way to test your Retro Joysticks. Works with most Autofire modes.
Instructions.
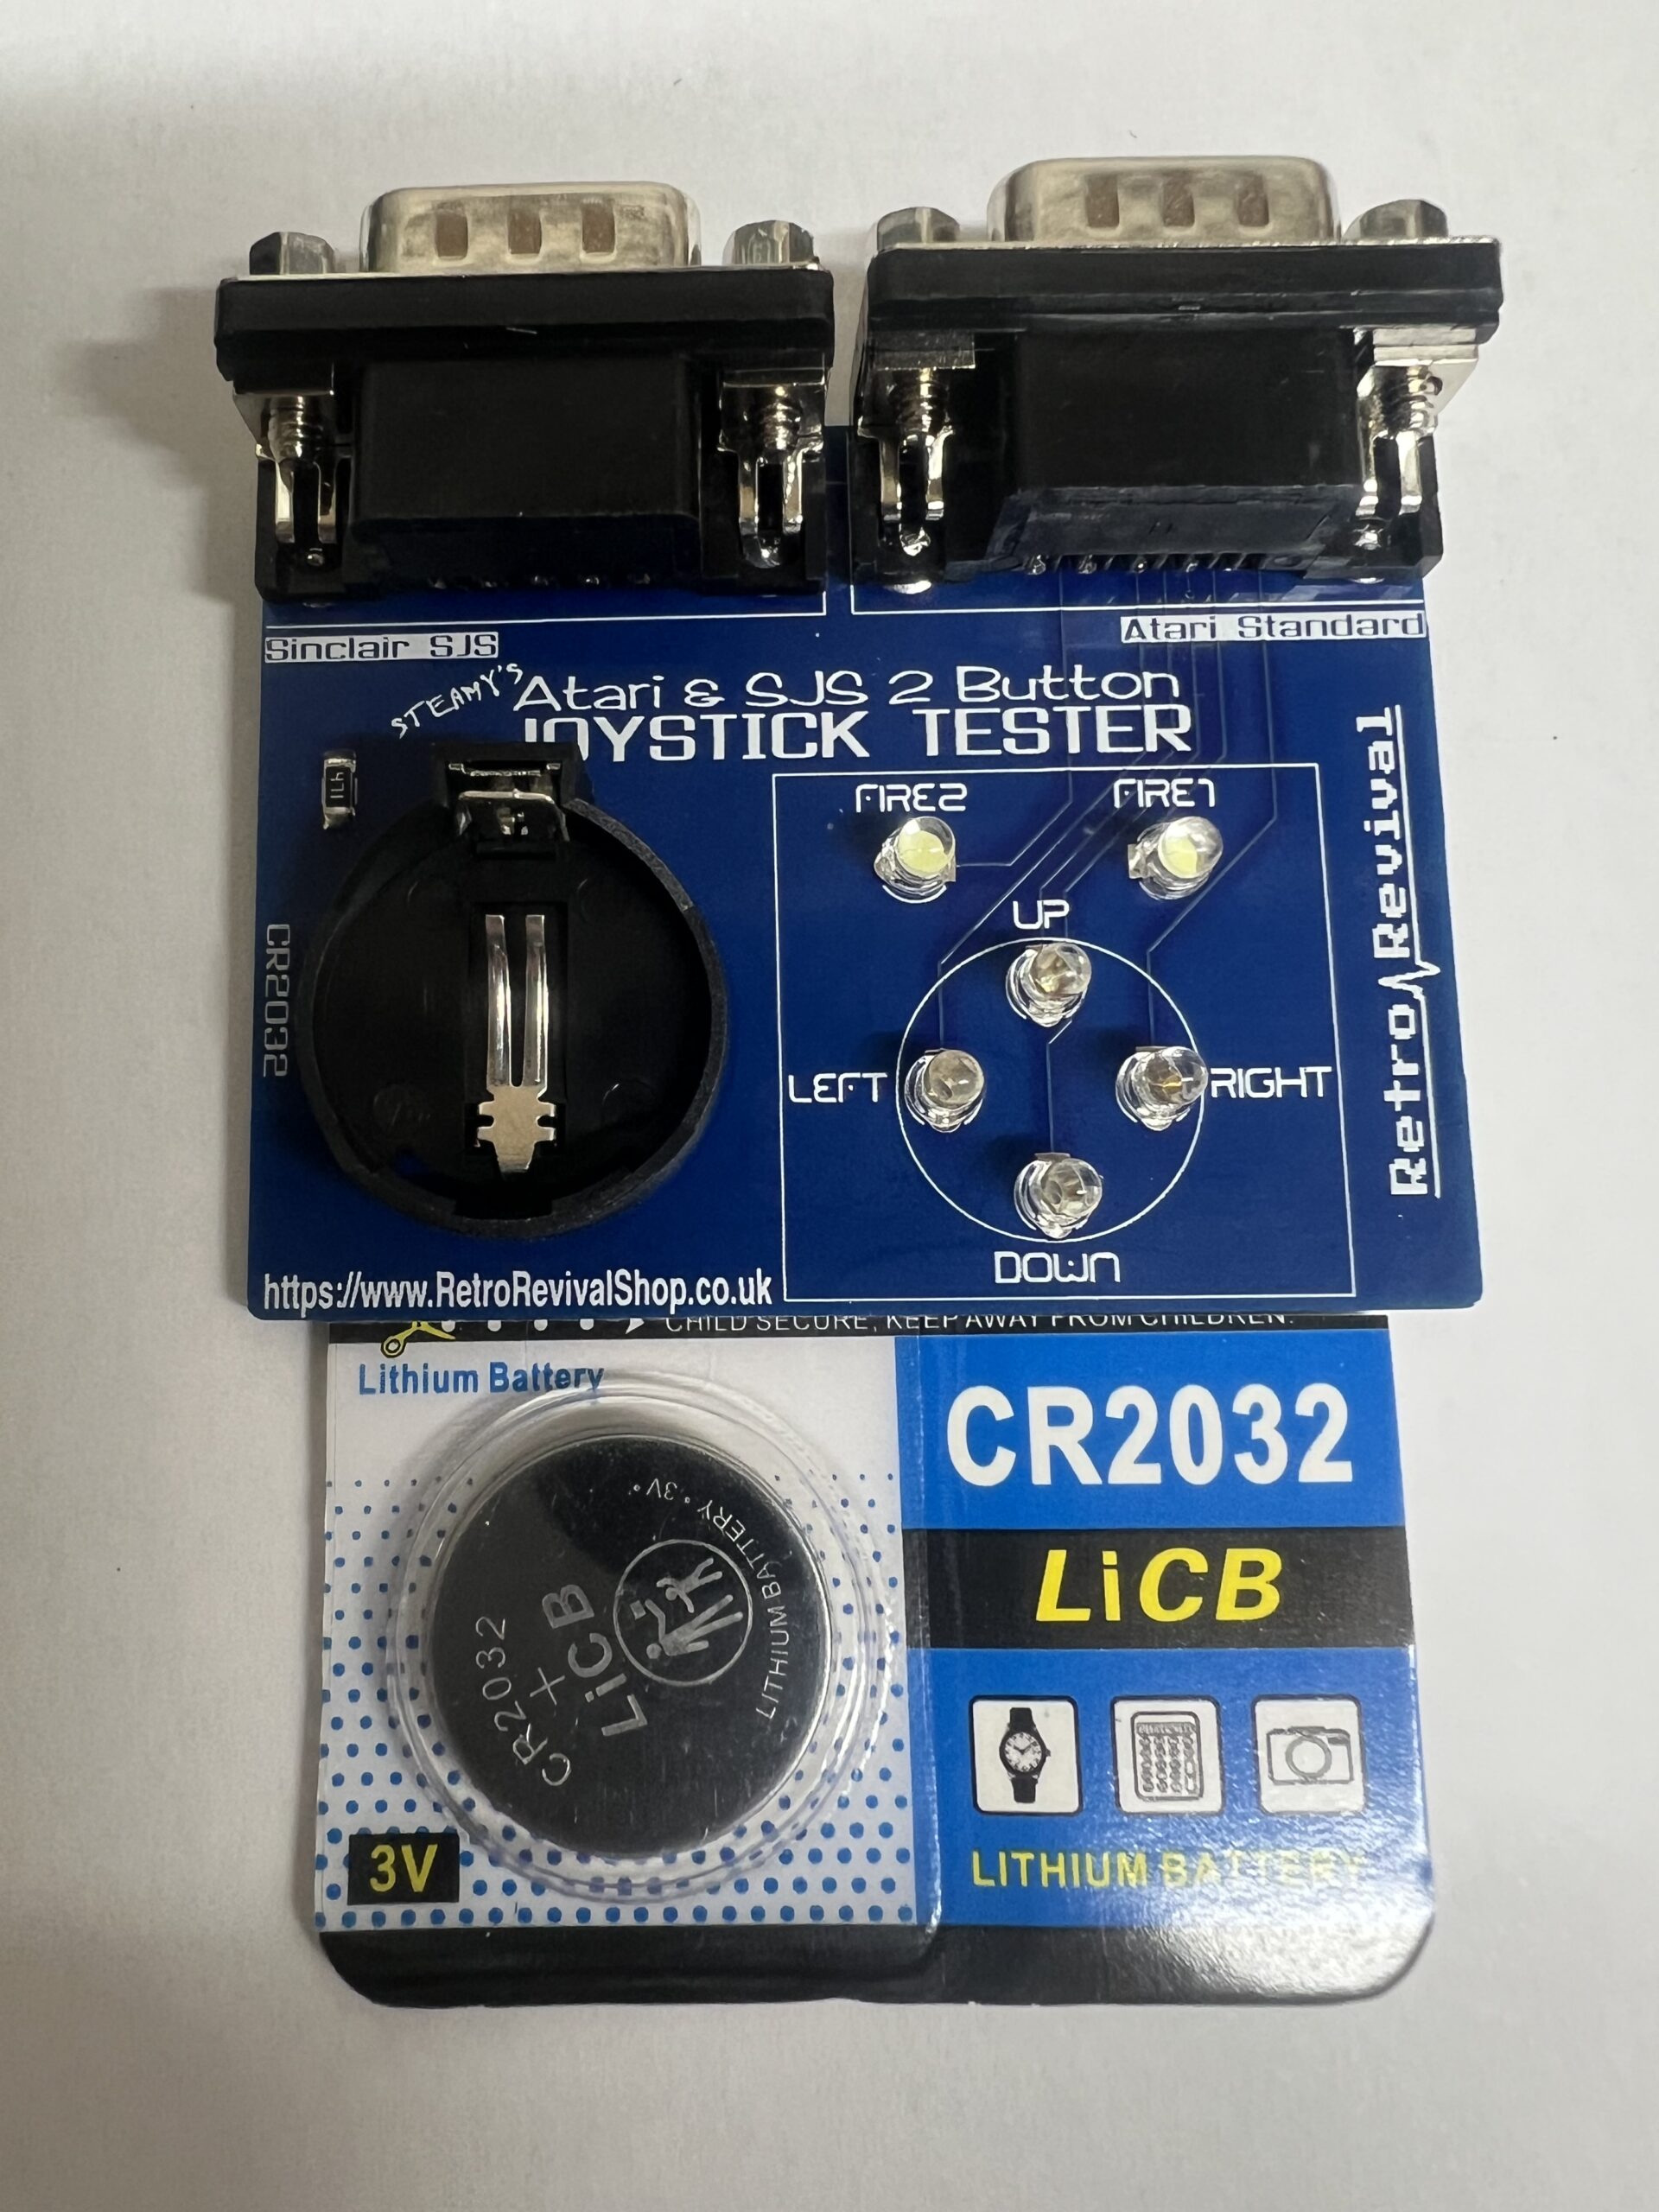
Remove the CR2032 battery from the packet, and insert it in to the holder on the joystick tester. Flat side upwards. There is no current draw on the battery without a joystick attached, so the battery can be safely left in the tester after use.
To test a Joystick.
Plug the Joystick connector into the correct DB9 port on the Tester.
Move the Joystick as normal, and Press the fire button(s).
If the Joystick is working fully, all the LEDs will light up brightly.
A flickering or dull LED means that the corresponding switch on the joystick has a poor connection and needs cleaning. Clean the connection and try the test again.
A LED that doesn’t light up means that connection is broken and not making any contact. This could be damage to the connector, cable or the switch.
Fire Button notes.
If you hold the fire button and move the joystick at the same time, the Fire LED will flicker. This is not a fault, it’s caused by a slight drop in power as the other LEDs light up. To test the Fire buttons fully, ensure the stick doesn’t move at the same time.
A lot of retro joysticks had more than one physical fire button. The Quickshot II and Competition Pro 5000 had 2, for example. Both Fire buttons were connected together internally. In this case, pressing either Fire Button will only light up FIRE 1 on the tester. This is normal. A joystick with a separate Second Fire Button will light up FIRE 2.
You won’t cause any damage if you accidentally use the wrong joystick port, it just won’t work correctly.
For the most accurate results, only connect one joystick at a time.
These have all been hand made and individually tested


Reviews
There are no reviews yet.